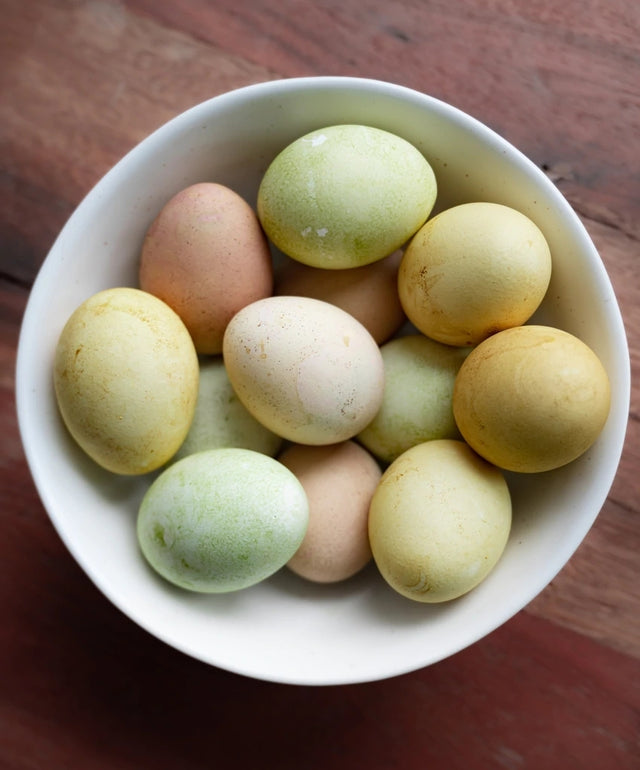
Skip the store-bought dyes for your Easter eggs and make them at home this year with the help of your Rise Garden! Easter is coming up quickly and that means you are probably in preparation mode. In addition to delicious veggies and herbs for your Easter Dinner, your Rise Garden harvests can help with coloring Easter eggs too. Read on to learn how.

What You'll Need:
- 2 cups kale (or parsley, or a mix of the two)
- 4 Chioggia Beets
- 4 Touchstone Gold Beets
- 1 tsp turmeric powder (or 1 inch of fresh turmeric)
- 3 cups boiling water
- 3 tbsp white vinegar
- 12 hard-boiled eggs, unpeeled
Green Dye
- Step One: Using a blender or food processor, blend kale with 1 cup of hot water.
- Step Two: Transfer mixture to a sealed container and let sit overnight (or for ~12 hours).
- Step Three: Strain mixture and discard the kale.
- Step Four: Add 1 tbsp white vinegar to the remaining liquid and set aside.
Red Dye
- Step One: Trim, wash, and peel the chioggia beets. Roughly chop.
- Step Two: Using a blender or food processor, blend the chopped beets with 1 cup of hot water.
- Step Three: Transfer mixture to a sealed container and let sit overnight (or for ~12 hours).
- Step Four: Strain mixture and discard the beets (or use for other recipes!)
- Step Five: Add 1 tbsp white vinegar to the remaining liquid and set aside.
Yellow Dye
- Step One: Trim, wash, and peel the gold beets. Roughly chop.
- Step Two: Using a blender or food processor, blend the chopped beets and turmeric with 1 cup of hot water.
- Step Three: Transfer mixture to a sealed container and let sit overnight (or for ~12 hours).
- Step Four: Strain mixture and discard the beets (or use for other recipes!)
- Step Five: Add 1 tbsp white vinegar to the remaining liquid and set aside.
How-To
Now that you have your dyes, it’s time to use them!
- Step One: Dip an egg into whichever color you prefer and ensure it is fully coated with dye.
- Step Two: Allow any excess dye to drip off, then transfer to an egg carton (or anything else that will allow it to dry).
- Step Three: Do this with the remaining eggs until all eggs have been dipped once.
- Step Four: Continue this process until you achieve your desired shade of each color! Mix it up and keep some light for even more variety.
Directions created by Kelsey Steeves.

