If you’ve ever been to a yoga class or a meditation session, you may have seen a sage smudge stick before.
The mainstream wellness culture has taken the idea of smudge sticks and run with it, without educating users of the true benefits and history of smudging.

As writer and activist Taté Walker says, “smudging sage has nothing to do with the magical room-cleansing nonsense sold by uninspired capitalists. Smudging is a very specific prayer, so you can burn sage without smudging and you can smudge without needing to light sage on fire.”
Indigenous peoples have been burning sage for centuries as part of a spiritual ritual to cleanse a person or space, and to promote healing and wisdom. It’s been used since the time of the ancient Egyptians and Romans to treat digestive issues, memory problems, and sore throats.
In this post, we'll show you how to use extra herbs from your Rise Garden to make your very own DIY sage smudge stick.

What you’ll need:
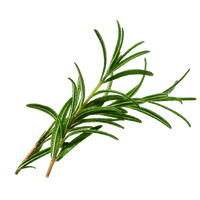
- Sage (or any other herbs or woody shrubs such as rosemary, thyme, or lavender), how much you use depends on how large you would like your bundle to be
- Cotton string
- Scissors
Instructions:
- Step 1 Gather your sage into a bundle and add in any other herbs you might be using. I went with pure sage (lavender is my favorite though, if you are adding anything extra!).
- Step 2 Using cotton string, tie the bundle at the base with a secure knot.
- Step 3 Wrap the string toward the top of the bundle in a crisscross shape, before wrapping the string back down to the base. Ensure that you are crossing tightly, but not so tight that the sage gets crushed.
- Step 4 Cut off any excess string.
- Step 5 Hang your sage bundle upside down in a cool, dry place for at least one week.
- Step 6 Once your bundle is completely dry throughout, it’s time to light it! Light one end over a bowl and let it burn for a moment, then put out the flame and set an intention.
**Do not use a wooden bowl. They were used for photography purposes only. Please only use a fire safe/resistant bowl.
To see more recipes and ideas from Kelsey, visit her blog at www.kelseyleah.com.
Shop This Post